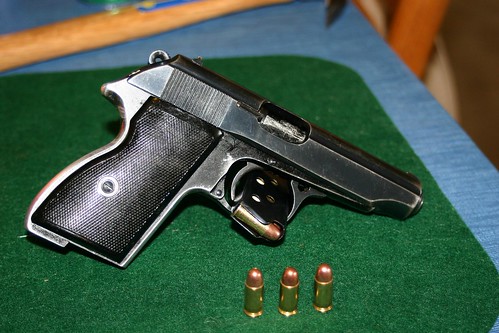
I've detail-stripped and cleaned all the grease out of it and replace the grease with a couple drops of rem-oil. I still haven't figured out how to take the slide apart, but I cleaned that up the best I could.
My only real complaints about this 32 is the magazine, and the superhuman mainspring!
I can only load 7 rounds into this magazine, but there's still an empty hole below the 7th rounds. I took the magazine apart, cleaned and lubed it, and still can only fit 7 rounds.
I will say, stripping this down to the frame is cake! My other handgun is a SA 1911, and to take that apart I need some pretty specific punches. I was able to do this FEG with a small flathead and some needle nose pliers.
The main questions I have, is what model FEG is this, and is there any place I could get a couple magazines, mainspring, and grips?
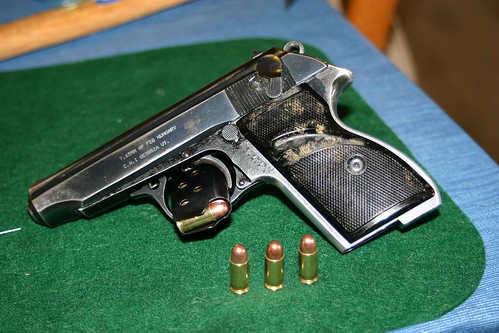
Here's a couple pics of it before i got it cleaned up. The 'dirt' on the grips doesn't come off, it appears to be some type of glue/residue.